DIY Dollar Store Snowflake Wreath
By Ashley Greenwood

Make an DIY Dollar Store Snowflake Wreath for your front door! All you need is foam core, craft paint, and ribbon!
After a few weeks of dreary winter weather I decided a little craft project was just what I needed.
How to Make a DIY Snowflake Wreath ~ Supplies Needed
{Supplies highlighted in bold are available at most local Dollar Stores}
poster sized sheet of foam core
large sheet of paper for cutting and tracing
scissors
serrated knife
1″ wide masking tape
glossy white spray paint
variety of craft paint
black permanent marker
wired ribbon
How to Make a DIY Dollar Store Snowflake Wreath ~ Instructions
Step 1: Create a Snowflake Pattern
Fold a large piece of draft paper into fourths. Then use a pencil to trace a snowflake pattern like the one below.
This piece of craft paper is actually a sheet from Hobby Lobby that they use to wrap fragile items. It fit the Dollar Store foam core perfectly!
DIY Wreath Making Tip: To make cutting easier keep the snowflake shape curved instead of pointed.
Trace the snowflake pattern on the foam core.
Step 2: Cut Snowflake Wreath Out
Use a serrated knife to carefully cut out the snowflake shape.
Step 3: Prep for Spray Paint
Next the snowflake needs to be prepped for a coat of white spray paint. The edges of the foam core must be sealed. Cover the edges of the foam core shape using masking tape and this technique.
Spraying the entire shape with paint will allow you to start the DIY snowflake wreath with a clean white background. I have used this process to create a Personalized Teacher Pencil, St. Patrick’s Leprechaun Hat, and Christmas Stocking Door Hanger.
Step 4: Spray with White Paint
Step 5: Add Details with Craft Paint
Use white acrylic paint to add details to the snowflake door hanger.
I started with a border of blue painter around the edges of the shape.
Next I traced circles onto each “point” of the snowflake. Dontcha love my flashlight/tracing tool?
Then I connected the circles with lines using a yardstick.
Once all the shapes were drawn I painted them all in with a lighter shade of blue. A pencil eraser makes fun dot details to the dark blue border.
Add even more details with a permanent black marker!
Step 6: It’s Bow Time!
Add a fantastic bow to the DIY door hanger with Easiest Bow EVER and you are done!
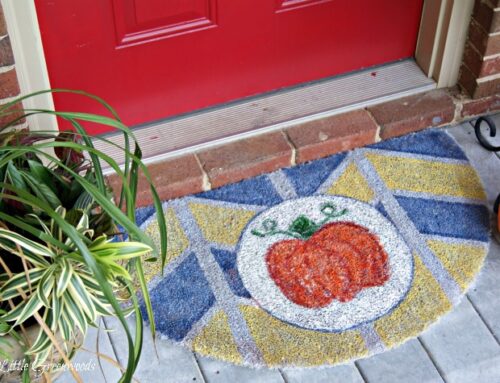
Whoa. What a fun pop of wintery goodness against our red front door! The neighbors will definitely be able to see this from the street. LOL
When I said this was a cheap DIY Dollar Store project I really wasn’t kidding. Everything I needed either came from the Dollar Store or my craft stash.
In total I spent less than $4 for an adorable Snowflake Wreath!
OH! If you love this project pretty please pin it and share with your friends on Facebook!
More DIY Door Hangers
Football Door Hanger
Christmas Stocking Door Hanger
St. Patrick’s Day Leprechaun Hat
Visit Ashley @ 3 Little Greenwoods’s profile on Pinterest.
Full Disclosure: This post contains affiliate links and/or is a sponsored post. I may receive compensation in the form of monetary compensation or product compensation in exchange for my review. I take pride in reviewing only products that fit my brand and will be beneficial to my readers. And while this post is sponsored or contains affiliate links, all the opinions are my own. Why do I do this? It will help me keep this DIY’ing Mama crafting for another day! For more on my disclosure policy click here.